Birth certificates principally provide information about the day in which a new person or animal was born. It also contains details about the name of the animal or person, its gender, name of parents, time of delivery and the other details that uniquely identify it from the others of its kind.
The document is largely used by the various government authorities to confer the rights and privileges of the state to the bearers of the certificate. It hence pays to know how to create one for yourself. Our discussions here below endeavor to shed more light on the subject.
How to Create a Birth Certificate
Follow the sets below to create a birth certificate using MS Word:
Step I: Launch the MS Word Document
Kick start the exercise by launching the MS Word Document. To do this, click the ‘office’ button and then select ‘New.’ Go ahead and click the blank document that exists there to launch the new Microsoft word document. Alternatively, click the start button, select ‘Microsoft Word’ and then proceed to open a pre-existing document.
Step II: Open the Templates
You now have to open the templates. These are raw skeletons that give you the framework against which you may fill out the finer details. Many of these birth certificate templates exist at the moment. It is imperative that you narrow down to that template that closely mirrors your aspirations and preferences.
Chances are that the templates that are built into the system are not exactly what you have been looking for. If that is the case, you are advised to get online. The online platform has numerous resources that may be of help to you. Download one of your likings and make use of it.
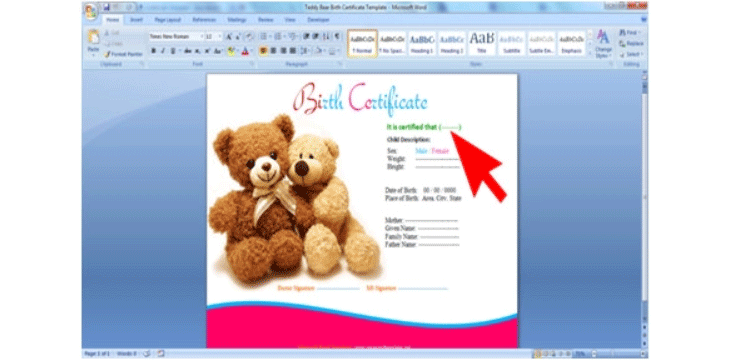
Step III: Fill in the necessary Details
It is at this stage that you now fill in the details that relate to the birth you are registering. Prior to this, edit the template to conform to the details that your registration is supposed to showcase. This may require that you weed out certain unnecessary details like the weight. Go ahead then, to enter the details.
Step IV: Customize the Text Fields
After filling in the necessary details, you now have to customize the text fields. This simply means making the text appear in such a way that it is agreeable or preferable to you. You may, for instance, alter the font, color, indentation, and general appearance of the text, to name but a few!
To alter the graphics of the text, right-click on the placeholder and then select one of your likings. In order to place new pictures, browse the ones that your machine already has, and so on. Ultimately, it is you to determine how the certificate is to appear in the final analysis.
Step V: Proof-read, edit, and Print
You are now almost good to go. Before you do so, you should take some of your time to proof-read the article and weed out any grammatical mistakes. Take your time to read through the writings to see to it that they are accurate and devoid of any mistakes.
Do not hesitate to make any alterations if and when the need to do so dictates. Then, save all the changes and the entire document in a suitable folder on your computer. Finish off by printing it out. You may have to make it official by taking it to the relevant state offices for signing.
Conclusion
Note that the steps we have delineated and explained above are merely general. That is because there are many versions of MS Word that are in existence at the moment. It may not be that the steps we have explained above may be relevant all through. You may have to carry out independent research to see to it that you familiarize yourself with the exact steps of your version of Word.
New Additions